Hazelnut chocolate rings: Glazed nougat shortbread biscuits
Kneading rich dairy fats, fine pastry starches, and sweet sugars into smooth dough cylinders builds an absolute masterpiece of traditional holiday baking. Today we are mastering a premium, high-contrast confectionery milestone from our seasonal winter collection: classic homemade Hazelnut Chocolate Rings. This beautiful shortbread recipe packs a bold, unctuous punch by sandwiching sweet nut paste and whole crunchy kernels beneath a dual-layer couverture finish, outshines basic grocery box shortbreads or dry industrial store-bought biscuits.
The culinary secret to this streamlined blueprint relies on precise cold dough firming and separate late-stage double boiler glazing dynamics. Instead of sliding sticky raw dough sheets straight onto hot baking sheets—which would cause the rings to spread completely flat and lose their shape—we are resting the flexible mass inside a cold fridge enclosure first to stabilize the fat networks. Filled via a pastry bag with smooth hazelnut cocoa paste and fully submerged inside a warm mahogany glaze right after baking, every single wheel delivers an incredible text contrast explosion.

what you need
for the crispy shortcrust pastry base
- 350 g premium pastry flour
- 210 g sweet cream butter (divided based on the sequence steps)
- 2 large fresh farm eggs
- 1 heavy pinch fine sea salt
- 120 g premium powdered sugar
- 1.5 packets traditional aromatic vanilla sugar
for the velvet nougat filling and crunch armor
- 200 g smooth unctuous hazelnut nougat cocoa spread
- 250 g raw whole hazelnut kernels
for the glistening dual chocolate glaze and assembly
- 250 g premium dark bittersweet chocolate couverture block
- 60 g premium white chocolate couverture block
- As needed extra pastry flour strictly to dust the wooden counter workspace
- As needed clear plastic wrapping sheets strictly to shield the cold dough
- As needed 2 massive sheets of fresh parchment paper strictly to line the flat baking trays
step-by-step
Let us begin with the artisan shortcrust pastry dough preparation to establish our smooth, flexible rolling foundation canvas workspace. In a massive deep mixing bowl container, combine 350 grams of premium pastry flour, 180 grams of cold sweet cream butter blocks, 2 large fresh farm eggs, 1 heavy pinch of fine sea salt, 120 grams of premium powdered sugar, and 1.5 packets of aromatic vanilla sugar. Knead the ingredients aggressively by hand or with a machine dough hook tool for exactly 5 minutes until a smooth, supple, non-sticky uniform elastic dough mattress builds on the pan bottom base floor. Roll the mass into a tight solid ball, wrapping the sphere tightly inside clear plastic wrapping sheets before sliding the dough inside your fridge frost lines to sleep quiet and rest cold for exactly 1 full hour to stabilize the gluten boundaries frame.
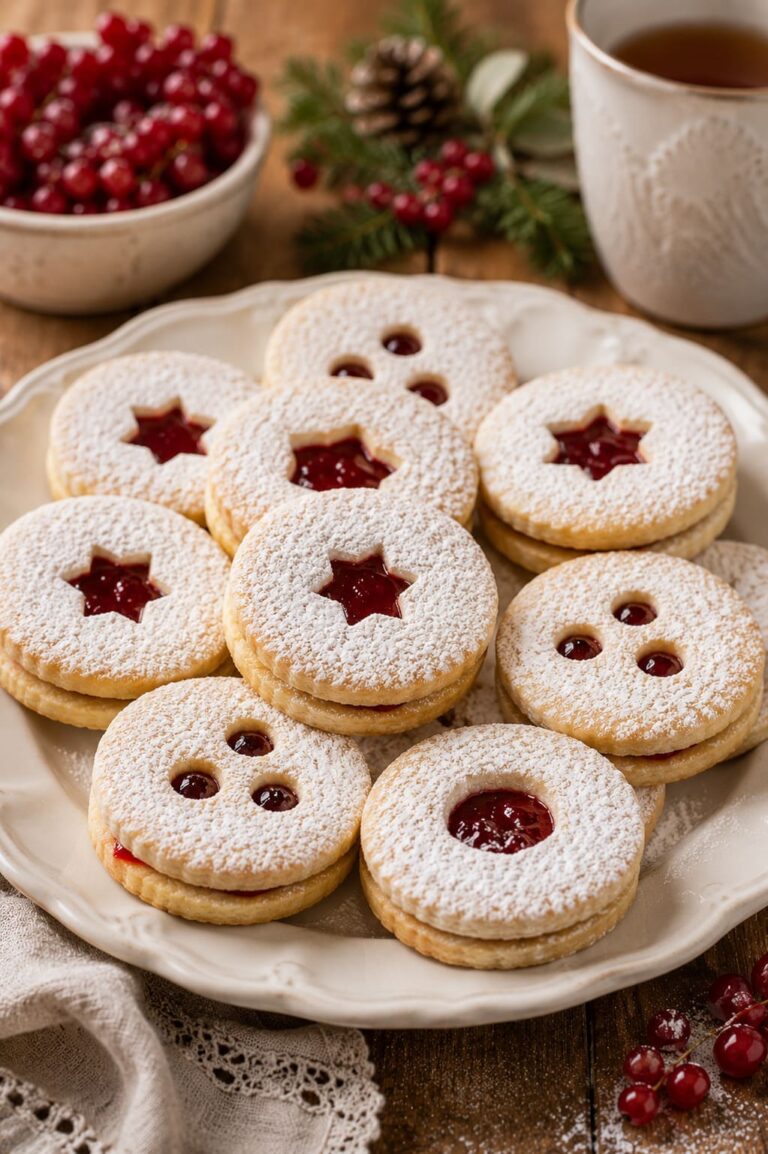
Now, handle your geometric ring stamping and baking sequence. Pluck your firm rested shortbread canvas out from the frost boundaries frame, peeling away the plastic wrapping sheets. Dust a light veil of pastry flour across your wooden table workspace surface canvas, using a traditional rolling pin tool to roll the dough flat until it measures a perfectly uniform 3 millimeter thickness parameters block. Take a round 5.5 centimeter wide cookie cutter tool, stamping down confidently through the dough to carve out exactly 48 identical uniform circle discs. Take a smaller 2.5 centimeter wide cutter tool, stamping out a clean hole proud dead center right through the middle of each circle to shape 48 neat ring wheels, repeatedly rolling any residual starch scrap strips until the dough is fully consumerized. Line 2 massive flat baking sheet pans meticulously with sheets of fresh parchment paper, nesting your pastry rings flat side by side right over the paper floor tiles layout frame, keeping a narrow 0.5 centimeter wide gap margin free between the rings.
Preheat your baking vault to a steady heat line of 200C (400F) using traditional electric top and bottom heat settings, or 180C (350F) if utilizing a convection fan layout current. Plunge the loaded baking trays proudly onto the middle oven rack rail rail lines one after another to bake bare and uncovered free for exactly 10 to 12 minutes total. Watch closely through the glass door continuous—the cookies are completely spot on the exact second the starch walls expand wide into golden crispy edges and a light toasted tan sets on the bottoms! Pluck the sizzling pans out using heavy mitts, transferring the hot shortbread rings carefully onto a wire rack workspace canvas to cool completely bone cold down to room temperature.
Execute your velvet nougat filling and hazelnut locking sequence. Scrape your 200 grams of smooth unctuous hazelnut nougat cocoa spread directly down inside a heavy pastry piping bag fitted with a small round open nozzle tip measuring roughly 3 millimeters wide. Squeeze the nozzle tool carefully to stamp out a gorgeous uniform circular ribbon ring of sweet nougat paste continuously right over the flat top roofs of your cooled shortbread biscuit rings. Take your 250 grams of raw whole hazelnut kernels, pressing exactly 5 whole nut globes rhythmically side by side flat right inside the wet nougat beds of each cookie tower, pressing down gently with your fingers to lock the crunch armor secure. Slide the loaded biscuit trays inside your fridge frost lines to chill secure for exactly 10 minutes total until the nut paste sets firm.
Chef’s Critical Staging Glazing Secret: Do not attempt to drizzle your chocolate lines over the cookie roofs while the dark couverture lacquer stands cold or thick! Coarsely chop your 250 grams of dark bittersweet chocolate couverture block into fine shards on your board. In a metal bowl setup set over a hot water vapor pool cauldron, combine your dark chocolate shards and your remaining 30 grams of sweet cream butter fat blocks, stirring constantly with a spoon over slow heat for exactly 3 minutes until the lipid grids melt down completely into a smooth uniform mahogany lacquer mirror, then pull the vessel off the fire tiles. Lift a chilled hazelnut ring up carefully, dipping the nut-topped upper roof face sheet headfirst straight down inside the warm dark chocolate lake pool to coat the summits cleanly; lift the cookie out, letting the excess fluids drop before setting the wheel back onto the wire rack workspace canvas to cool flat.
Time for the final presentation layout masterclass. Coarsely chop your 60 grams of premium white chocolate couverture block into fine shards, melting the pieces inside a clean separate metal bowl setup set over the hot water vapor pool cauldron until a smooth pale ivory lacquer mirror builds, then pull it off the fire. Take a small spoon tool, dipping it deep inside the liquid white chocolate pool to slowly drizzle the pale lacquer in elegant looping thin wave lines and crossing grid streaks all across the dark chocolate cookie roofs. Let the decorated shortbread wheels rest undisturbed flat at room temperature for exactly 30 minutes to let the dual chocolate coatings fully crystallize into a brilliant shimmering crown shield. Arrange the 48 luxurious sweet gems proudly side by side across a vintage white tier etagere presentation board canvas workspace floor layout, serve cold alongside hot streaming cups of espresso coffee, and enjoy your holiday paradise!